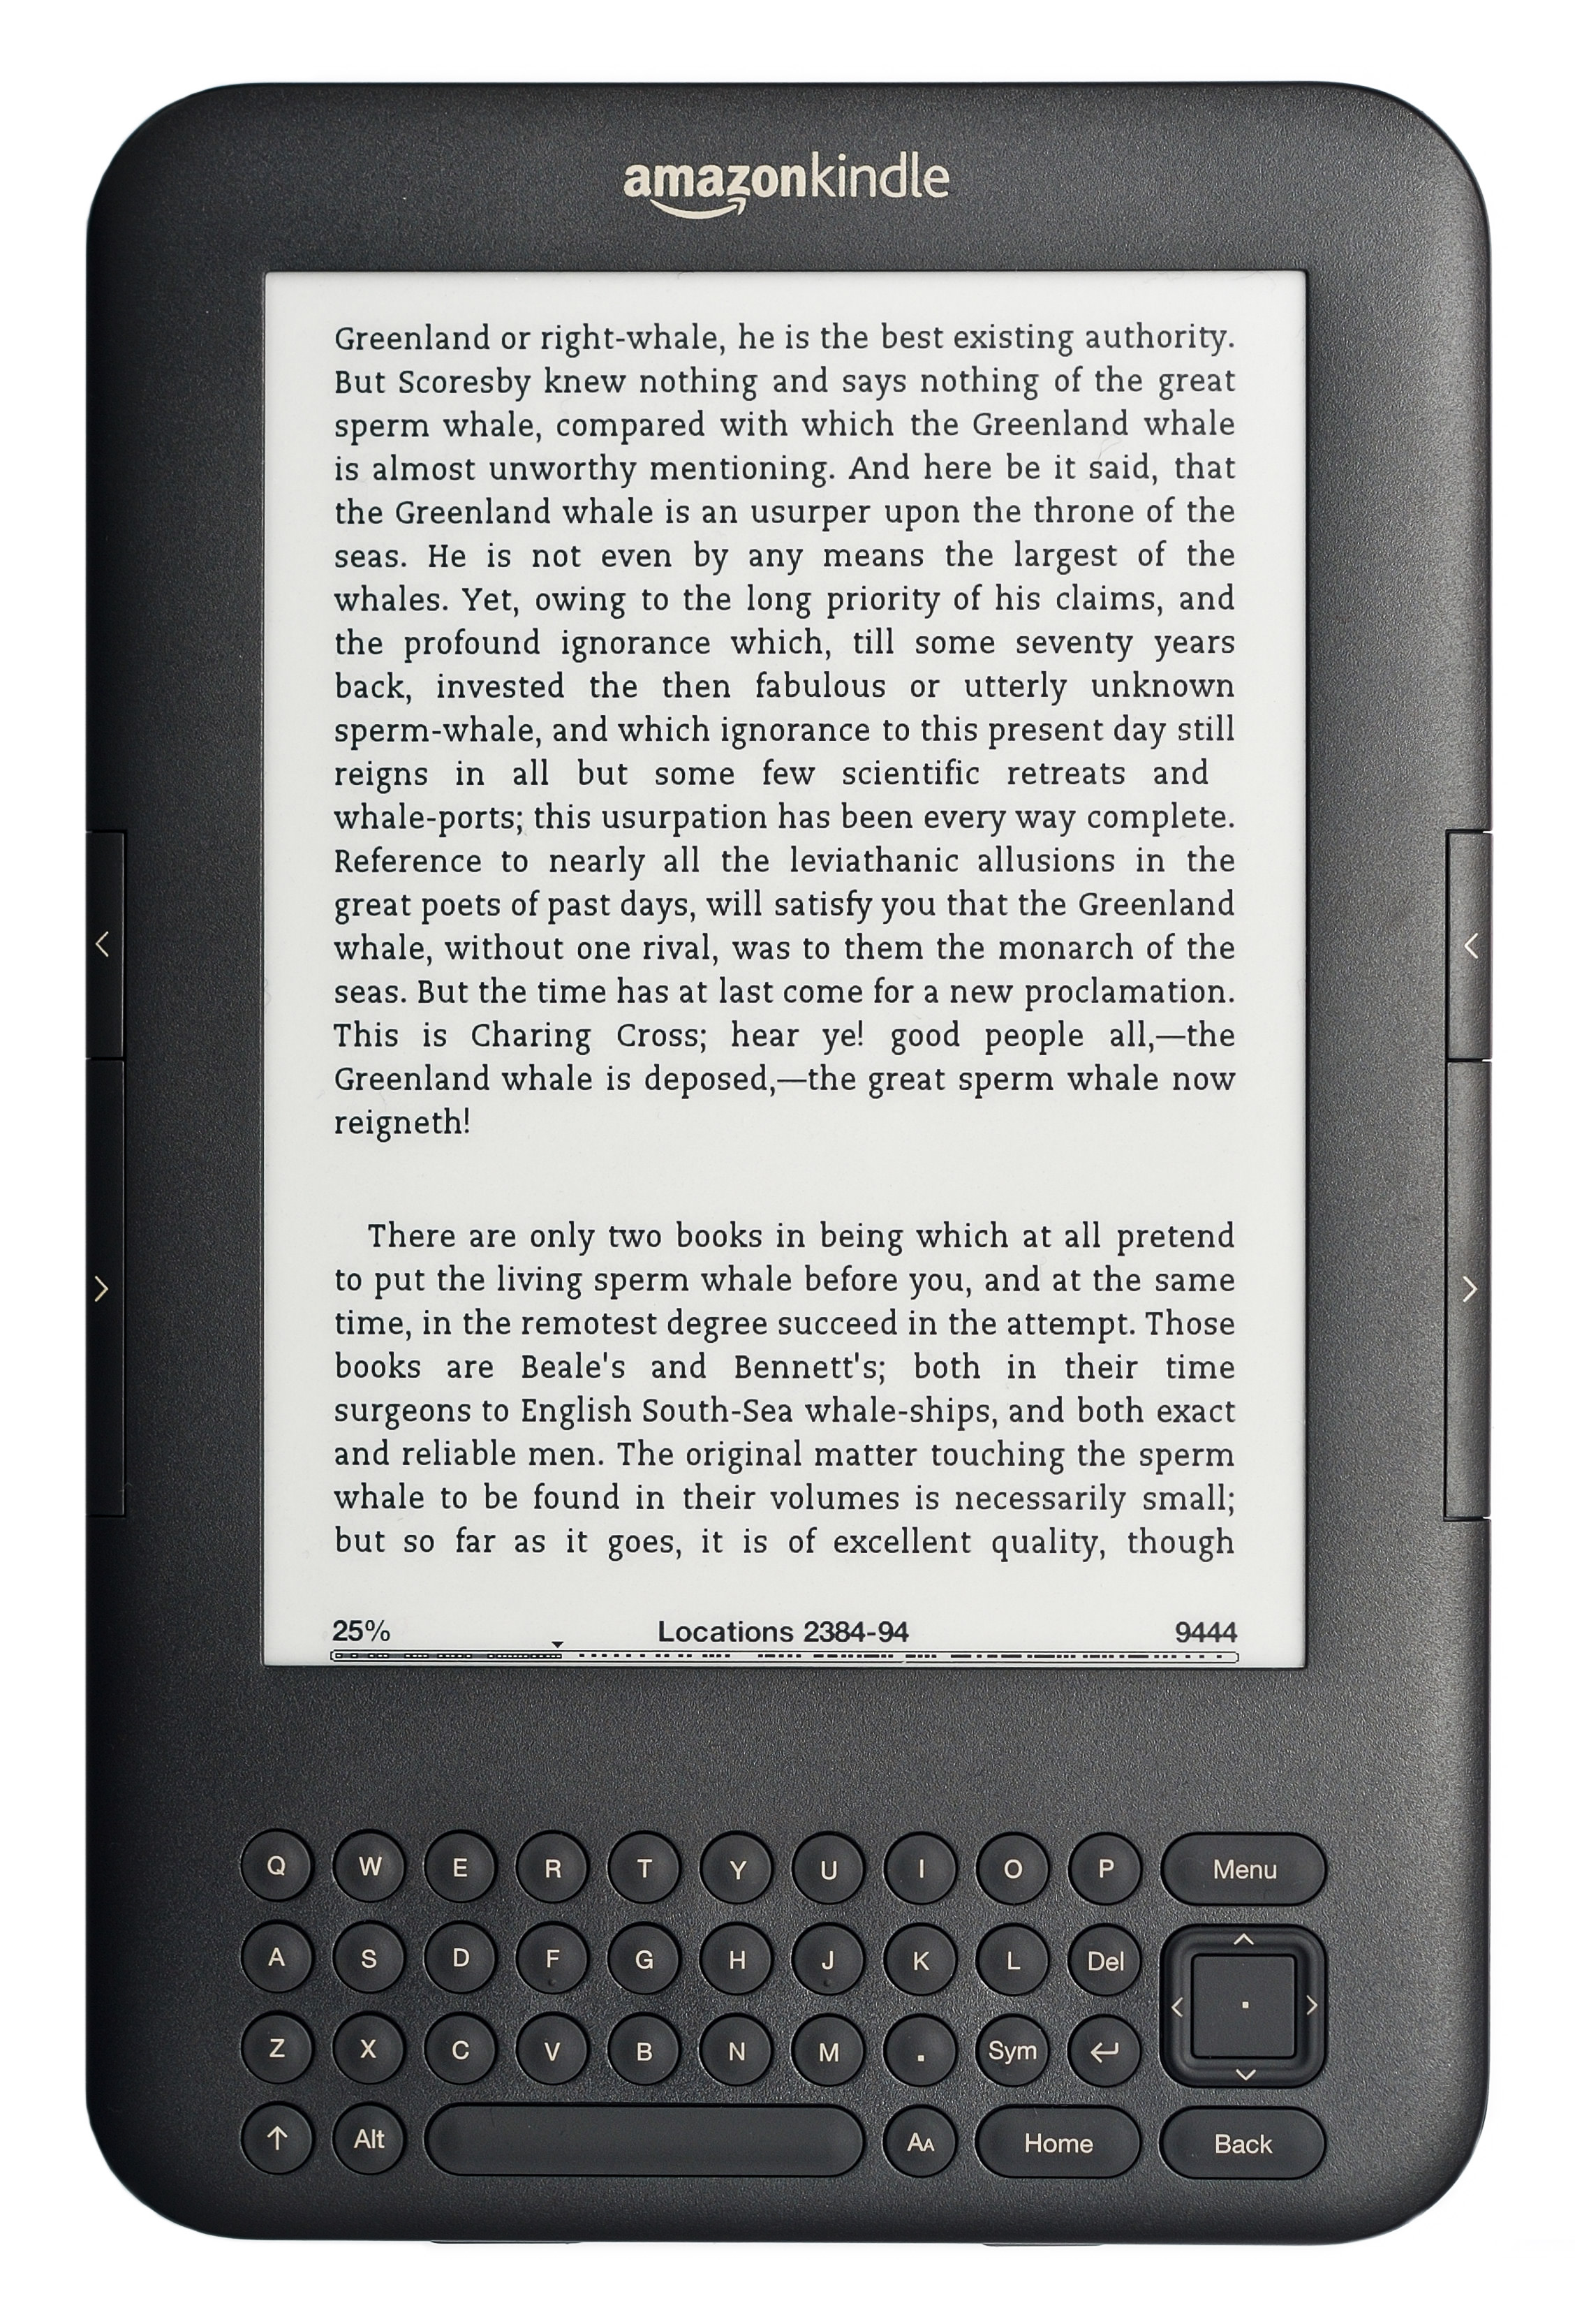
A kindle seems like a great personal device…but managing even a small fleet of Kindles for an institution like a library quickly becomes more complicated. I thought it would be worth sharing the policies and procedures I’ve developed for the North Park University’s library about how to order and manage Kindles.
So much of this process comes from this post in the code4lib journal that you should stop reading this and go there first. Seriously.
Loading Content from Amazon
Once you have the Kindle devices, they will need to be loaded with content – most likely from Amazon. This process should work as the initial load or as subsequent loads to add titles to a Kindle.
- Register the Kindle (or re-register) the device to your institutions Amazon account.
- Log in to institutional Amazon account.
- From the main page, click to “Manage my Kindle” and then “Register my Kindle”
- Enter the 16 digit serial number located in the Settings screen under ‘Device Info’.
- This Kindle should now appear under “Registered Devices”
- To load new content, search for the title and then select “Device to my…” and send it to the appropriate Kindle.
- To load content you’ve already purcahsed:
- Navigate to “Your Kindle Library” and then to “Books”
- Search for and find the title to be re-load to the Kindle Device
- Under “Actions…”, click “Deliver to my…”, make sure the correct Kindle device is listed, and click “Deliver”
- Repeat steps 3 and/or 4 until all the titles you want have been loaded to the device.
- On the Kindle device, check that you can open and read all the items – titles should wirelessly sync to the device.
All of the content should now be loaded to the Kindle device!
De-registering Kindles and Creating Back-ups
- Open Calibre – download this program if necessary.
- If this is the first backup for a new device, create a new library in Calibre for that Kindle. (If altering a Kindle that already has a Calibre library, skip to step 3)
- In Calibre, select “Books” from the top bar and select “Switch/Create library”
- Click the icon to the right of “New Library” and navigate until you reach the desired folder
- Select “Create an empty library at the new location”
- Press okay and wait for Calibre to complete the task (status wheel in the bottom right corner)
- Now that there is one calibre library per Kindle device, copy the contents of each Kindle to its calibre library.
- Connect each Kindle to the computer via the USB cord
- Calibre should recognize the Kindle device and a new icon should display on the top banner.
- Click the “Device” icon in the toolbar and then “Show books on the main memory of this device”
- Select all the titles, right click, and select “add to library”
- Check the Calibre library – each title should be listed.
- Eject the Kindle device and disconnect from the computer.
- De-register the Kindle device
- On the Kindle, click “Menu” and then “Settings” to de-register the Kindle from the North Park account.
- This is important because it prevents patrons from downloading unauthorized content and loading other titles.
Reloading Content from Local Backup
- Delete all content from the Kindle device.
- Open Calibre, select “Library” from the top bar and select “Switch/Create library”
- Switch to the Calibre library that corresponds to Kindle device.
- Plug in Kindle device using USB cable – wait for it to register in Calibre (the top bar will change)
- Select all titles in the Calibre library that should be loaded to the Kindle device
- Then click “Send to Device” from the top bar.
- Confirm that all titles are loaded to the Kindle.